This week the class was introduced to a project that we will be working on for the next few weeks. We want to obtain high resolution aerial imagery through the use of balloon mapping. The plan is to construct an apparatus attached to a balloon which will take continuous photographs that can be mosaicked together to create a scene at a high resolution. In fact, we will be constructing two different devices: one for lower altitude mapping and also one called a high altitude balloon launch (HABL). The goal is to get the HABL to ascend all the way into space to get some really neat photos. It is paramount that we get a head start on this project as soon as possible to assess all of the variables that will go into both devices as well as designing the equipment and running some tests with the equipment so that we don't look foolish out on campus when the day comes to launch them. No one in the class has had any prior experience in an experiment like this so there will be some trial and error along the way. We had a chance to look over a few websites that focus on this particular experiment which gave us some important ideas and concepts to consider and somewhat of a compass to get us in the right direction. It also became apparant that the "how-to" directions available were a bit elementary and lacked some vital information. The goal of the subsequent posts on this blog are to be as descriptive as possible for the procedures involved with this project as to create a more comprehensive and detailed instructional. For the HABL device, a basic kit was obtained from an online retailer which includes the helium balloon, parachute, and a few rigging devices.
This is the website from which the balloon kit was purchased: http://publiclaboratory.org/wiki/balloon-mapping-kit
This website gave as understanding of the basic design of a balloon rig and also the parachute descent rates which will be important information for us: http://the-rocketman.com/recovery.html
Methodology
With a class of around 20 students, it was feasible to split up into different groups to tackle different tasks in a timely fashion. The list of tasks included: (1) weighing the equipment (2) device designs (3) parachute testing (4) camera/data preparation (5) testing the tracking device. Everyone was able to find a group in which to participate in and share their ideas which became an important element as our brainstorming was able to attack an objective from many different angles to achieve a better end result. Everyone was able to walk around to each group and get a sense of what they were doing and trying to accomplish so that everyone has an overall idea of what is going into this project as well as how everything will work.
 |
| Fig. 2 - More weighing of objects. |
 |
| Fig. 1 - Gathering weight data. |
Weights
Gathering weight data from all of the potential equipment is a vital task for this project because the size of the balloon dictates how heavy the auxillary equipment can be. For our purposes, our balloon can only handle 2 lbs. of extra equipment. Therefore, we have to assess which equipment is absolutely necessary and then engineer a rig that can support that weight while protecting the camera and ensuring quality imagery. Needless to say, it did not take long to have 2 lbs. of equipment (including camera) gathered. It is important to note that each rig will require different equipment because of the fact that they will be sent to different altitudes. A more detailed list of objects and weights can be found at the end of this post.
Gathering weight data from all of the potential equipment is a vital task for this project because the size of the balloon dictates how heavy the auxillary equipment can be. For our purposes, our balloon can only handle 2 lbs. of extra equipment. Therefore, we have to assess which equipment is absolutely necessary and then engineer a rig that can support that weight while protecting the camera and ensuring quality imagery. Needless to say, it did not take long to have 2 lbs. of equipment (including camera) gathered. It is important to note that each rig will require different equipment because of the fact that they will be sent to different altitudes. A more detailed list of objects and weights can be found at the end of this post.
Low Altitude Rig
Two different groups undertook the task of designing the actual balloon rigs. For the low altitude rig, the rig includes a camera encased in a 2 liter pop bottle, fitted to secure the camera from moving around too much during flight. This rig will be a bit more simplistic than the HABL rig will be. Two different models were created for the low altitude rig. The prototypes can be seen below.
 |
| Fig. 3 - First model with stability wings. |
 |
| Fig. 4 - The "Hindenberg" pop bottle apparatus. |
 |
| Fig. 5 - View from below illustrating how camera will hang in the first prototype. |
In Figure 3, an empty bleach bottle was implemented and plastic wings were attached to ensure stability to deter atmospheric winds from interrupting the photography. The camera will be secured within the bottle by attached strings running through the top of the bottle. Figure 4 depicts a 2 liter pop bottle in which a sqaure section was cut out directly beneath the camera and the use of plastic zip ties to secure the camera to the bottle. Two pieces of string were fastened to each end of the bottle and knotted together at the top by which the device will hang and balance. We have yet to test either model out so it will be interesting to see which device performs better.
HABL
The HABL rig requires a bit attention because it will be expected to reach very high altitudes in which the temperature drops below freezing and therefore issues arise with how the equipment will react to temperature changes. We decided that an insulated foam minnow bucket would work quite well as the carrier device because it has insulation properties as well as it will provide more cushion when it descends back to the ground. Bear in mind that we are working with a limited budget and proving that this balloon launch can be achieved with easily accessible and cheap equipment. A basic diagram of the rig can be seen in Figure 6. The camera will be fastened to the bottom of the bucket via plastic zip ties and then hand warmers will be arranged around and on top of the camera to maintain a warmer temperature inside of the bucket. This is a very crucial element of the project, to ensure the camera does not get exposed to the fridgid temperatures in the upper atmosphere.
 |
| Fig. 6 - Basic model of how the rig will be assembled. |
 |
| Fig. 7- Cutting a small square hole in the bottom of the minnow bucket which will serve as the view frame for the camera. |
 |
| Fig. 8 - View hole for the camera while preserving any unnecesary exposure of equipment. |
 |
| Fig. 9 - Cutting a circular piece of foam insulation which will sit in the bucket on top of where the camera lies and which will secure the hand warmers sitting around and atop of the camera.
|
Parachute Testing
Since the HABL will be descending from very high altitudes, as the balloon will eventually expand too far and pop, it is necessary to rig the device with a parachute. This was a control model that would could test right away. We obtained the parachute that was appropriated with the balloon kit and then put 2 lbs. of weight inside of the minnow bucket carrier device. Once the bucket was fastened properly, we took the rig up four stories high to drop it out the window and see how well the parachute would work. This was the funnest part of the project so far. |
| Fig. 10 - This is the HABL rig (minus balloon) getting ready for the test drop. |
After dropping the rig out the window 3 times, we noticed that the parachute was not slowing down the rig as much as we had hoped. That being said, the minnow bucket did a great job of protecting the contents inside and after hitting concrete, no cracks or holes were found on the bucket. It will need to be determined if we need to exclude more weight from this rig which will be very challenging.
Camera
For this project, it would be ideal to use a GoPro camera since they are designed for such uses. However, this was not feasible so a basic digital camera will be used instead. It was important to test the camera out to ensure the continuous photo mode worked well and also how fast the memory card would fill up. We also wanted to determine which would take up more memory: pictures or video. Since video records sound with it, photo mode is the way to go. The largest memory card we have is a 32gb SD card. This should suffice for the amount of imagery we need. We also needed a way to keep the camera button down so that the camera will take continuous shots while in the air. For this, a rubber band was wrapped tightly around the camera with a penny underneath which did a fine job of holding the button down. This is they key to the project so it is absolutely necessary that we know what is going to work and also figuring out a way to suspend the camera to take high quality photos.
 |
| Fig. 11 - Rubber band used to hold down button. |
 |
| Fig. 12 - View of how camera will be suspended. |
 |
| Fig. 13 - Taped up and ready for action. |
Tracking Device
Once the HABL descends from the upper atmoshpere, the device will undoubtingly get blown a distance away from the launch site. For this reason, a tracking device is a must to be able to locate where the device ends up(most likely in a tree or a lake). A small GPS tracking device will be attached to the rig and we will be able to link that to an iPad to track its path. We tested this device out briefly and it works great.
Discussion
Many important elements are present in this project. For one, preparation is key to success. Without any advanced preparation, we would be doomed for failure and look like idiots. Obviously, we do not want this, we have too much pride. This project is good practice to be able to brainstorm through different ideas with a bunch of people involved. Teamwork is also crucial. Forming good relationships with fellow team members helps make the project fun and also successful. The ability to delegate work to different individuals helps keep the process running smoothly and quickly and diffuses responsibility to everyone involved. In subsequent weeks we will be building off what we have learned each week and then apply new concepts and ideas that come to us throughout the week. A project like this can seem very simple to undertake, however, it is becoming evident that it's going to take a lot of planning a preparation for us to be successful. The end product will be really cool to put together and it's going to be a very unique experience. In the coming weeks, we will need to agree on final model for both rigs and also develop a practical way to fill the balloon with helium. We have not yet researched any methods dealing with that step of the process. Also, we will need to look at how we will mosaic the images together and deal with any sort of distortion or varying camera angles. The list of materials and their corresponding weights are listed below with accompanying photos.

| Fig. 14 - Weights for all the possible equipment available. |
 |
| Fig. 15 - Carabiner which will connect apparatus to the rope. |
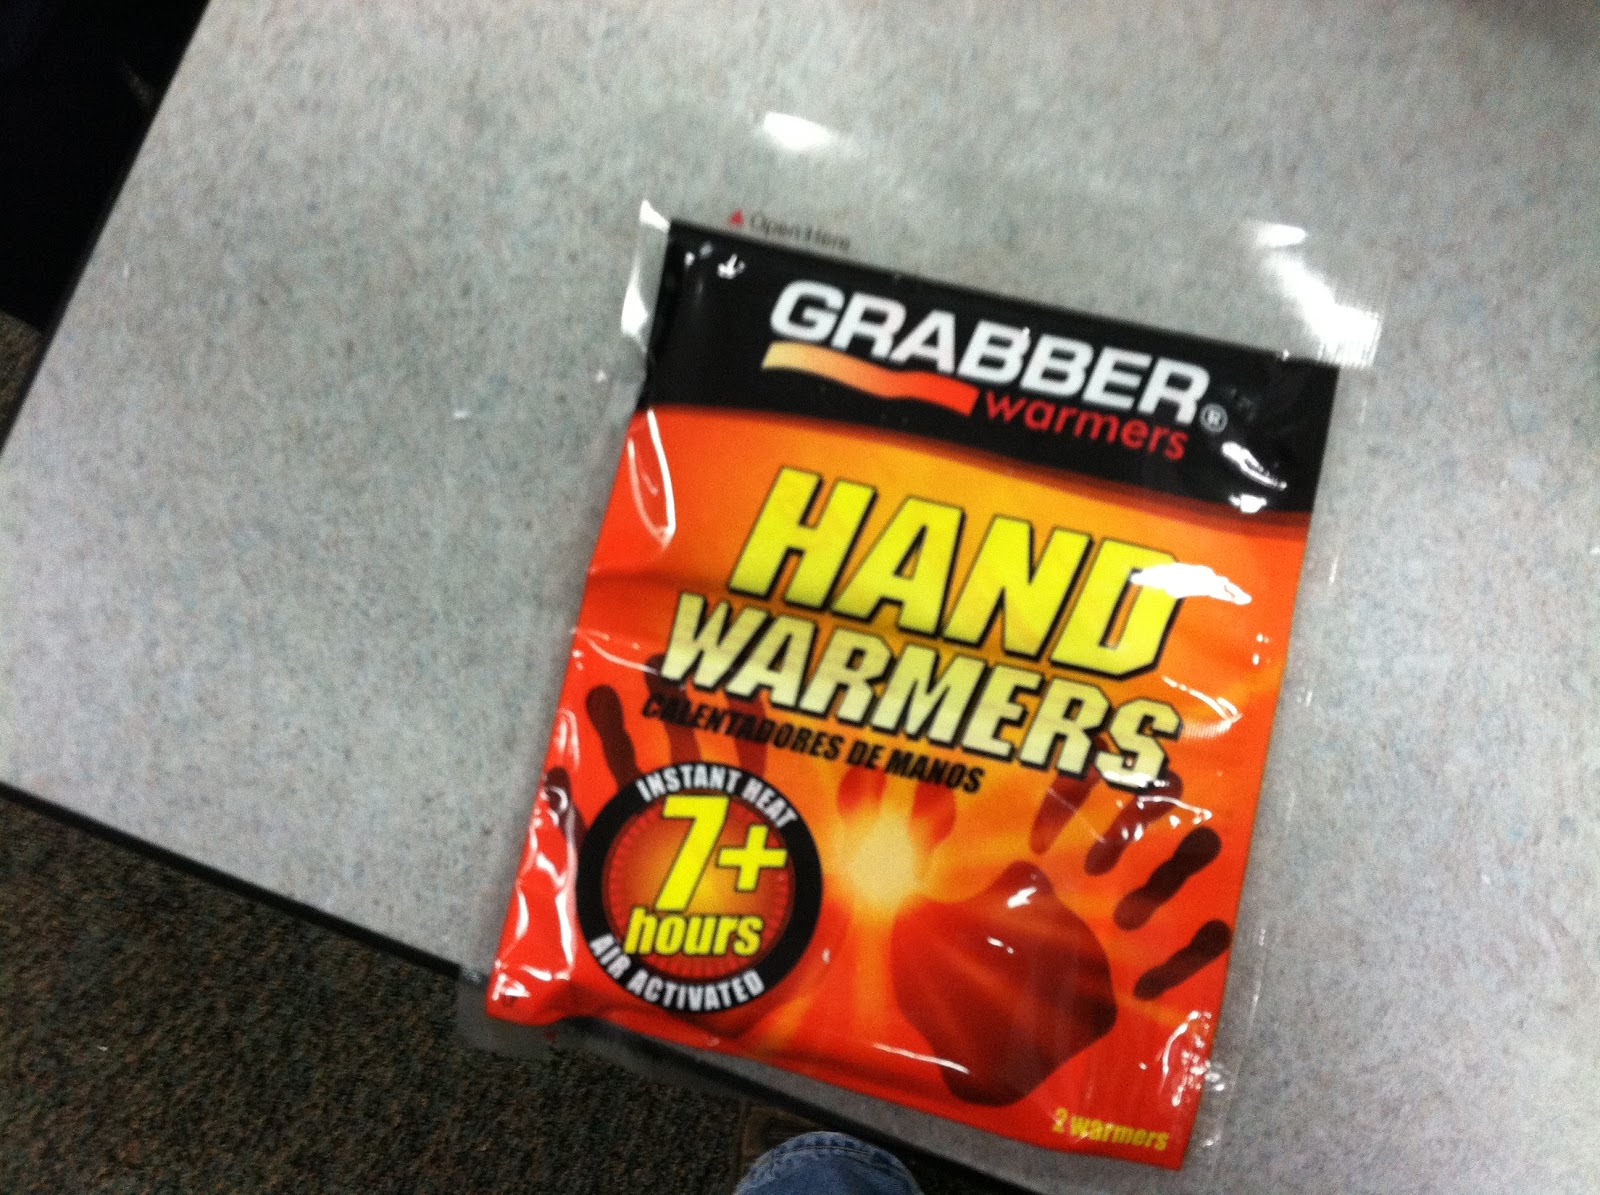 |
| Fig. 16 - Hand Warmers to insulate and keep camera warm. |
 |
| Fig. 17 - Main source of fastening devices. |
 |
| Fig. 18 - Long rubberband to perhaps wrap around the minnow bucket. |
 |
| Fig. 19 - More rubberbands. |
 |
| Fig. 20 - Large rubberbands which are stronger. |
 |
| Fig. 21 - 3/16" rope which will be used to harness the minnow bucket to parachute. |
 |
| Fig. 22 - The parachute in it's condensed form. |
No comments:
Post a Comment